
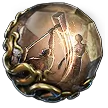
Stomping Ground Smith of Kitava POE2 Build
A very smooth build that uses Rake to create devastating Aftershocks and overlapping explosions via Unique Item synergyStomping Ground
Smith of Kitava Build
Updated for Path of Exile 2 Early Access
The Best Crafty Guides by Odealo
| Guide notes |
| May 07, 2025 - Created for Early Access. |
| Build Overview | |||
| Tags: [MELEE] [PHYSICAL] [LIFE] | |||
|
Budget: Defenses: |
|
Boss DPS: AoE: |
|
Stomping Ground is a Support Gem that's the main damaging component in this build. When linked to an Attack, it triggers a Shockwave each time you take a step whilst using the Attack. You want to link it to something that doesn't slow you down, and Rake seems like the best choice. It's a simple Spear Attack that launches your character in a chosen direction. The Rake itself won't deal any meaningful damage because Stomping Ground scales only with Strength, not even your weapon's damage is taken into account. This feature lets you use a weapon with a unique characteristic to it disregarding its damage, but also forces you to stack Strength. We've opted for a combination of Skysliver Spear, The Deepest Tower Helmet, and Stars Aligned notable. You will then increase your Maximum possible roll on Physical Damage, and, because it rolls twice to select the favourable outcome, which is the highest possible option, the damage can be scaled in an alternative way - not just by getting more and more Strength.
The build is also excellent at clearing maps. It uses Herald of Ash with Trampletoe boots, which causes slain enemies to explode, which then kills enemies nearby propagating a chain reaction which will last as long as there are targets to keep it going. Invest in Area of Effect to enhance this effect. This works great against weak enemies, but against bosses, you're forced to change tactics. Plant three Ancestral Totems with a high Gem Level, which is the most efficient way to scale up their damage, by swapping your weapon.
The obvious choice for a Strength-scaling character is Smith of Kitava with their Support Straps. You will also take advantage of Coal Stoker and Forged in Flame for 90% to all Elemental Resistances. The damage reduction of this build is exceptional, but it may struggle with Life Recovery against a particularly oppressive barrage of attacks.
You can also check our other Path of Exile 2 builds right over here Odealo's Crafty Guides - Full List
1. Gameplay
Use Rake to move and kill any enemy you stumble upon. Shield Charge can be also implemented to move a bit quicker. Ancestral Totems, linked to Rolling Slam, will be used only against bosses. Be sure you stand very close to them to benefit from The Deepest Tower. Mark them with voltaic Mark too to break their Armour. There's not much else to do, it's a very simple build gameplay-wise. We've added Thunderous Leap for Consecrated Ground and Resonating Shield for utility, but they'll be hardly needed later on. Your passive skills are Herald of Ash, Berserk, and Time of Need.
|
|
|
|

2. Build's PROS & CONS
| PROS |
|
| CONS |
|
3. Leveling tips
You can start with Rake and Stomping Ground from the start, and it's actually one of the best leveling tactics out there. Just be sure to grab items with Strength, like Titanrot Cataphract, Greymake, and Meginord's Girdle, and allocate it on your Skill Tree as you level up. You won't need much else. The transition into the final version of the build is smooth and with no obstructions on the way.
| [DPS] Boneshatter setup | |
 |
Rake |
 |
Stomping Ground |
 |
Heft |
 |
Martial Tempo |
| [UTILITY] other gems | |
 |
Herald of Ash |
 |
Overwhelming Presence |
4. Final Skill Tree, Ascendancy Points, and Pantheon
Final Skill Tree:
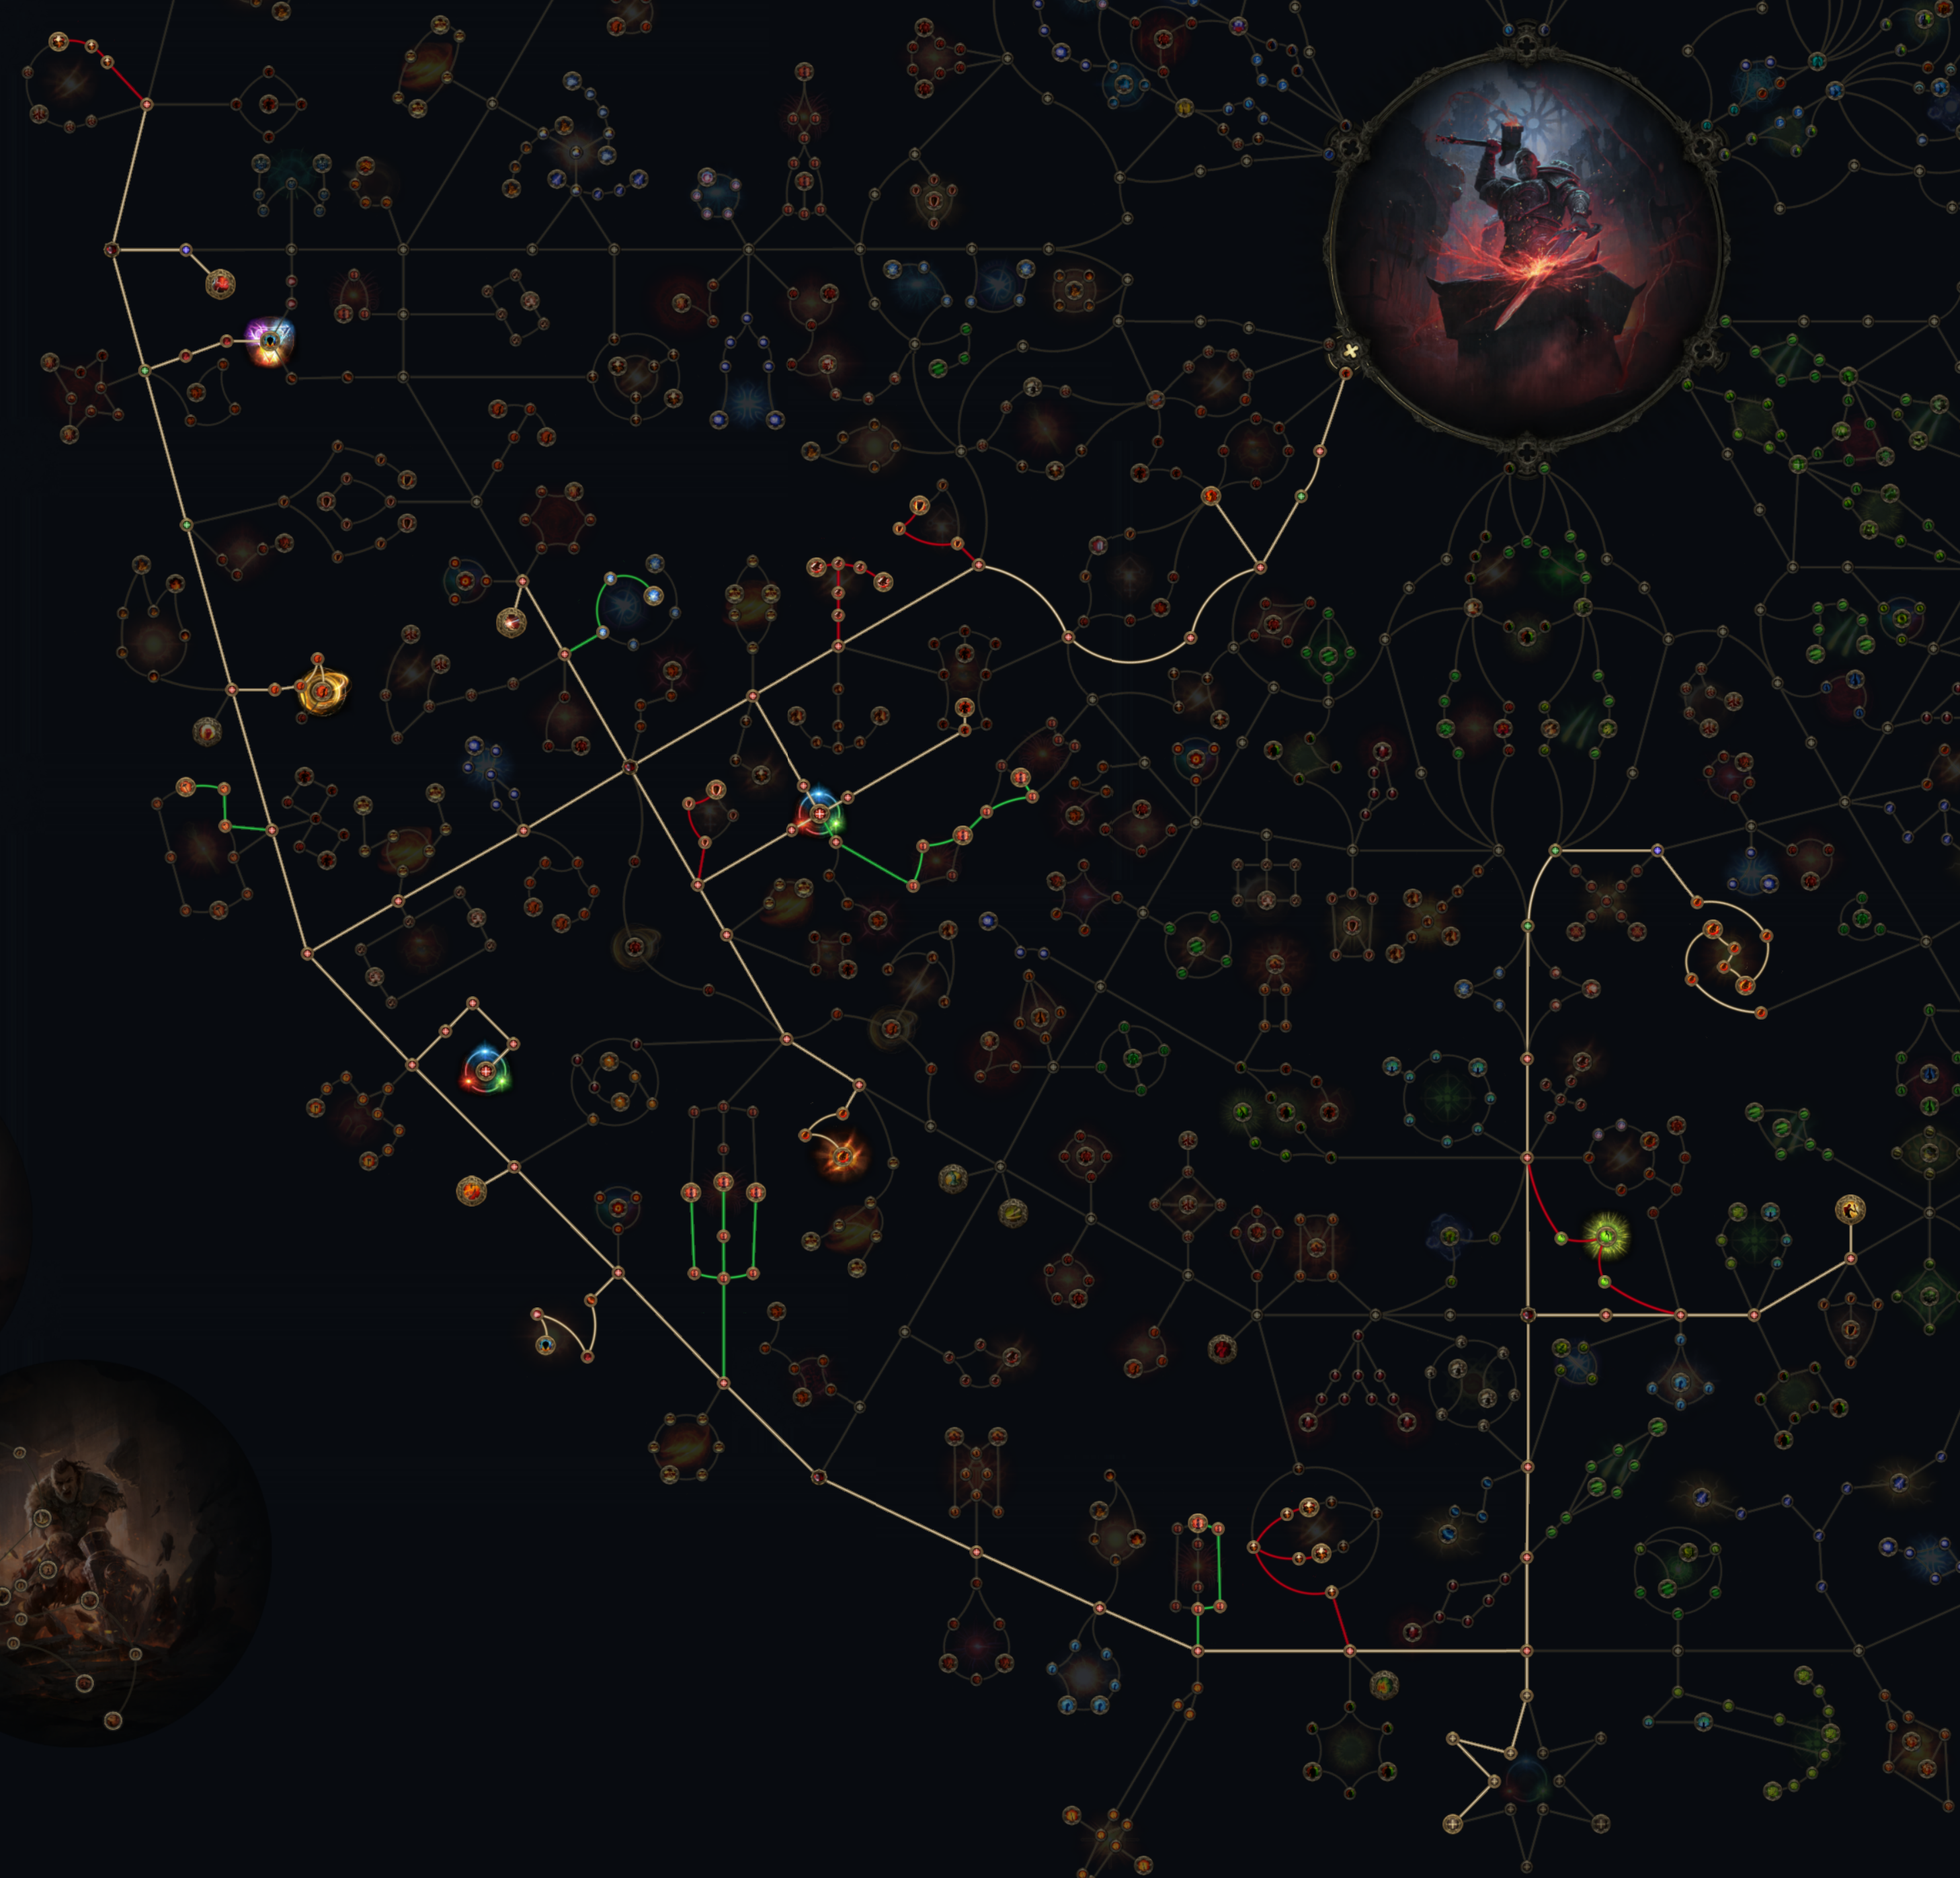 |
|
Click on the image to open the Passive Tree preview in a new window Or import the build into PoB: |
Ascendancy points:
Preferably in this order:
- Coal Stoker
- Forged in Flame
- Smith's Masterwork - Kitavan Engraving
- Smith's Masterwork - Support Straps
- Smith's Masterwork - Molten Symbol
- Smith's Masterwork - Leather Bindings (or Flowing Metal)
5. Final Gems links
| [DPS] Rake setup | |
 |
Rake - Its role is to trigger Stomping Ground, so keep it at a very low level to not waste resources on it. Why Rake specifically? It always inflicts Bleed, it's swift, and it can be used with Spears. |
|
Stomping Ground - Doesn't look like much, but it's the main source of damage in the build. It creates Shockwaves, the damage of which scales with Strength. |
 |
Close Combat - More damage to enemies nearby. The Deepest Tower encourages such proximity. |
 |
Execute - The Deepest Tower also encourages the usage of this Gem, which causes you to deal 50% more damage. |
|
Martial Tempo - 20% more Attack Speed. It's imperative - more Attack Speed means more Shockwaves. |
|
Heft - 30% more Maximum Physical Damage. The usage of this Gem is encouraged by Skysliver and Stars Aligned notable. |
| [DPS] Ancestral Warrior Totem setup | |
 |
Ancestral Warrior Totem - Totems are used against single targets. They will snapshot and keep the bonuses to Gem Level from the weapons after swapping, which is great news for us. |
 |
Rolling Slam - It's a clunky-to-use Slam, but since it's on Totems you need not to care about that. It also lets them move to follow the target. |
 |
Heavy Swing - Much more Physical Damage and less Attack Speed. |
 |
Fire Infusion - Adds Fire Damage much like Chernobog's Pillar. Brutality is a good substitute if you don't have this Shield. |
 |
Concentrated Effect - Less Area of effect but more Area Damage. |
 |
Bloodlust - 30% more Melee Physical Damage against Bleeding enemies. Hit them with Rake to activate the bonus; it always causes Bleeding. |
| [UTILITY] Herald of Ash setup | |
|
Herald of Ash - A key component of the build. Slain enemies deal area damage around them which Ignites. Combined with Trampletoe, it improves your clear speed big time. |
 |
Swift Affliction - More Damage over Time but less Duration of it. |
 |
Magnified Effect - More Area of Effect to include the enemies further away in the chain reaction. |
 |
Fire Mastery - An extra Gem level for Herald of Ash. |
| [UTILITY] Resonating Shield setup | |
 |
Resonating Shield - There's rarely an opportunity to use it, but you may use it against bosses that already Bleed, and your Totems are already rolling. It deals damage, raises your Shield, and Breaks enemies' Armour while the Channelling continues. |
 |
Splinter - The Skill Breaks even more Armour. |
 |
Culling Strike - Culls enemies, killing them if their Life is sufficiently low. |
 |
Steadfast - 100% increased Ailment Threshold while Channelling. |
 |
Rage - Grants 3 Rage per hit. |
| [UTILITY] Voltaic Mark setup | |
 |
Voltaic Mark - It's not supposed to do anything, just be a host for the Single Out Support Gem. Shocking pinnacle bosses is unlikely so it will probably stay the full duration. |
 |
Single Out - Marked enemies' Armour gets Broken by Physical Damage. |
 |
Demolisher - Skills Break 50% more Armour. |
| [MOBIILITY] Shield Charge setup | |
 |
Shield Charge - The movement ability. Use it to move between packs of enemies. |
 |
Ingenuity - 30% increased Cooldown Recovery Rate. |
 |
Wind Wave - Knocks Back enemies if you get Stunned while charging. |
 |
Overpower - Increased Stun buildup, by 100% in total when added the inherent bonus from Shield Charge. |
| [UTILITY] Thunderous Leap setup | |
 |
Thunderous Leap - A leap slam that can be used with Spears. It deals insignificant Lightning Damage. |
 |
Holy Descent - Creates Consecrated Ground on Landing to aid you. |
 |
Persistence - Consecrated Ground lasts longer. |
| [UTILITY] Time of Need setup | |
 |
Time of Need - Heals you, removes Elemental Ailments, and removes Curses from you once in a while. |
 |
Fast Forward - You receive the aforementioned blessings 30% more often. |
| [UTILITY] Berserk setup | |
 |
Berserk - Increases Rage Effect, grants Life Leech, and drains your Life. |
|
|
6. Gear Setup
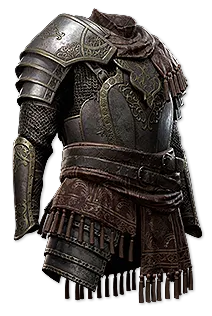
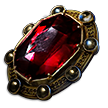
The build makes use of many Unique Items, some of which are mandatory. Other, usually the more expensive ones, are not required for the build to work, but aim to get them at some point. The most important are Skysliver, The Deepest Tower, and Trampletoe. You may even try your luck at corrupting them. Your Rare items shall be a source of missing Resistances, Strength, and Maximum Life. Maximum Fire Resistance, Block Chance, Chaos Resistance, and Gem level to all Melee Skills are harder to come by, but do look for them after your base needs are taken care of. Remember that with Glancing Blows (useful with Chernobog's Pillar) your Block Chance is doubled. No Accuracy, Spirit, Evasion, Critical Hit modifiers, or Mana modifiers are required. They'll have no effect on this build. We're running a weapon swap setup - two two-hand Maces and a spear/shield.
|
Stat priorities on items:
|
 (Weapon) Rare Mace - It's the weapon you'll swap to to place down your Ancestral Totems. It only needs the additional Gem Level. Wear two of them for 14 additional levels. Totems scale up really well with it. (Weapon) Rare Mace - It's the weapon you'll swap to to place down your Ancestral Totems. It only needs the additional Gem Level. Wear two of them for 14 additional levels. Totems scale up really well with it. |
|
| Min. requirements: +7 to Level of all Melee Skills |
|
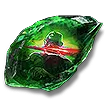
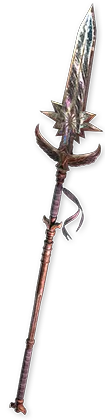 (Weapon) Skysliver - Pitiful damage, but it's not the weapon where you source your damage form, it's Strength. This Spear has the valuable Maximum-or-Minimum roll which works well with Lucky Hits. Your Hits will be lucky with Stars Aligned notable. (Weapon) Skysliver - Pitiful damage, but it's not the weapon where you source your damage form, it's Strength. This Spear has the valuable Maximum-or-Minimum roll which works well with Lucky Hits. Your Hits will be lucky with Stars Aligned notable. |
|
| Grants Skill: Spear Throw No Physical Damage Adds 1 to (80-120) Lightning Damage (15-30)% increased Attack Speed (50-100)% increased chance to Shock Rolls only the minimum or maximum Damage value for each Damage Type |
|
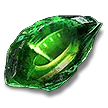
 (Off-hand) Rare Shield - Strive for Chernobog's Pillar, but until you can get your hands on one, get a basic Rare Shield with high Strength, Block Chance, Life, and Resistances. (Off-hand) Rare Shield - Strive for Chernobog's Pillar, but until you can get your hands on one, get a basic Rare Shield with high Strength, Block Chance, Life, and Resistances. |
|
| Min. requirements: Maximum Life Fire or Chaos Resistance Strength Optional affixes: Increased Block Chance Additional Physical Damage Reduction |
|
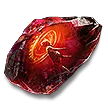
 (Off-hand) Chernobog's Pillar - Adds tons of Fire Damage to your abilities. It also has other stats highly valued in this build specifically. (Off-hand) Chernobog's Pillar - Adds tons of Fire Damage to your abilities. It also has other stats highly valued in this build specifically. |
|
| Grants Skill: Raise Shield (100-150)% increased Armour +(30-40)% to Fire Resistance +(23-29)% to Chaos Resistance +(150-200) to Stun Threshold Gain 1% of damage as Fire damage per 1% Chance to Block |
|
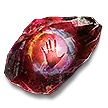
 (Helmet) The Deepest Tower - Allocate Stars Aligned, Finishing Blows, Finality, and socket the Execute Gem to increase your damage by a lot with this Helmet. (Helmet) The Deepest Tower - Allocate Stars Aligned, Finishing Blows, Finality, and socket the Execute Gem to increase your damage by a lot with this Helmet. |
|
| (70-130)% increased Armour and Energy Shield +(70-100) to maximum Life +(17-23)% to Chaos Resistance 50% reduced Presence Area of Effect 10% reduced Light Radius Enemies in your Presence count as being on Low Life |
|
 (Gloves) Rare Gloves - Look for Gem Level of all Melee Skills, Maximum Life, Strength, and Resistances or Attributes. (Gloves) Rare Gloves - Look for Gem Level of all Melee Skills, Maximum Life, Strength, and Resistances or Attributes. |
|
| Min. requirements: Maximum Life Level of all Melee Skills Strength Optional affixes: Fire and Chaos Resistance increased Attack Speed Dexterity |
|
 (Boots) Trampletoe - It works similarly to Herlad of Ash, dealing Overkill damage on kill, but it synergizes with it to create a chain reaction able to wipe out all the enemies on the screen, given they're tightly packed. (Boots) Trampletoe - It works similarly to Herlad of Ash, dealing Overkill damage on kill, but it synergizes with it to create a chain reaction able to wipe out all the enemies on the screen, given they're tightly packed. |
|
| 15% increased Movement Speed (50–100)% increased Armour 50% increased Attribute Requirements Deal 30% of Overkill damage to enemies within 2 metres of the enemy killed |
|
 (Amulet) Rare Amulet - Simply Maximum Life, Resistances, and Attributes will do. Anything else is not really that important if you can't manage to gather a lot of the basic stats. (Amulet) Rare Amulet - Simply Maximum Life, Resistances, and Attributes will do. Anything else is not really that important if you can't manage to gather a lot of the basic stats. |
|
| Min. requirements: Maximum Life Fire or Chaos Resistance Attributes Optional affixes: +# to Level of all Melee Skills #% of Damage taken Recouped as Life |
|
 (Ring) Rare Ring - Here, again, you will look only for the most basic stats in huge quantities. Maximum Life, Attributes, and Resistances. (Ring) Rare Ring - Here, again, you will look only for the most basic stats in huge quantities. Maximum Life, Attributes, and Resistances. |
|
| Min. requirements: Maximum Life Fire or Chaos Resistance Attributes Optional affixes: Life per Enemy Killed Life Leech |
|
 (Belt) Ryslatha's Coil - Up to 40% more maximum Physical Attack Damage, which is even more valuable as the damage rolls twice. (Belt) Ryslatha's Coil - Up to 40% more maximum Physical Attack Damage, which is even more valuable as the damage rolls twice. |
|
| (10-15)% reduced Charm Charges Used Has (1-3) Charm Slots +(80-100) to maximum Life (30-50)% increased Flask Life Recovery rate (30-40)% more maximum Physical Attack Damage (30-40)% less minimum Physical Attack Damage |
|
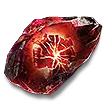
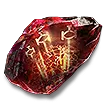
 (Belt) Infernoclasp - The most sound option for Smith of Kitava. It has all the stats you want, especially the Maximum Fire Resistance. (Belt) Infernoclasp - The most sound option for Smith of Kitava. It has all the stats you want, especially the Maximum Fire Resistance. |
|
| +(100-140) to Armour Has (1-3) Charm Slots +(100-150) to Armour +(10–20) to Strength +(3-5)% to Maximum Fire Resistance +(30-50)% to Fire Resistance |
|
 (Body Armour) Normal Body Armour - Get a normal Ornate Plate with no explicit modifiers. Add Quality and Sockets. Then, maybe Corrupt it for a favourable outcome. (Body Armour) Normal Body Armour - Get a normal Ornate Plate with no explicit modifiers. Add Quality and Sockets. Then, maybe Corrupt it for a favourable outcome. |
|
| Min. requirements: Life Regeneration (Implicit) Optional affixes: Additional Physical Damage Reduction (Corrupted Implicit) |
|
 (Jewel) Rare Ruby Jewels - Rage on Hit, Presence Area of Effect, Maximum Fire Resistance, and increased damage is what to look for on Rubies. (Jewel) Rare Ruby Jewels - Rage on Hit, Presence Area of Effect, Maximum Fire Resistance, and increased damage is what to look for on Rubies. |
|
| Optional affixes: Rain 1 Rage on Melee Hit increased Presence Area of Effect increased Melee Damage Maximum Fire Resistance increased Block Chance |
|
|
If you have any other build requests please leave that in the comments below. We are always open to suggestions and constructive feedback.
Pictures used in this article are the intellectual property of Grinding Gear Games.