Manastacking Static Orb Sorcerer for Last Epoch
One of the most powerful Builds in the game that utilizes maximum Mana to gain absurd amounts of Damage for the Static Orb Skill.Manastacking Static Orb
Sorcerer Build
Updated for Patch 1.1
| Build notes: |
| July 17, 2024 -Build created |
Build Overview
The Build-defining feature of this Setup is the Manacharged and Overcharged Detonation Notables available for the Static Orb Skill. The Manacharged sets the Mana Cost of this Skill to fixed 20% of your maximum Mana and grants 5% More Damage for every 20 maximum Mana you have. The Overcharged Detonation removes the ability to pierce Enemies but offers 2% More Damage with the explosion per 1 Mana Cost. It offers an insane amount of Damage but requires you to invest heavily into raising the Maximum Mana. The natural Mana Regeneration can't keep up with spending massive amounts of Mana in a short burst, you will have to replenish it by Channeling the Focus after you overdraft into negative Mana.
The Glacier is the best choice for the filler Spell. Usually it's Mana Cost is hard to sustain, but here it pales in comparison to your Static Orb. It also restores 1% of your Maximum Mana per Hit, which can be very helpful against hordes of weak monsters. It doesn't scale with your Maximum Mana, but generic Spell Damage and Critical Strike modifiers are sufficient enough, as the base Damage is quite high.
The Intelligence improves your Damage and Critical Strike Chance but also grants you plenty of Ward Retention, which will be your main form of defense. To generate it you will make use of the "Mana Spent gained as Ward" modifier, Transient Rest Boots, and various Notables on your Specialisation Tree. It offers you great protection against occasional powerful attacks but accumulates rather slowly. Manually Evading incoming Hits will be necessary to survive in high Corruption levels.
You can also view the full build on the Last Epoch planner here: Manastacking Sorcerer Build
For the defenses, this build utilizes:
- High amounts of Ward;
- Flame Ward with the automatic trigger when Stunned;
- Chill and Freeze;
- Massive amounts of Damage leading to short encounters.
You can also check our other Last Epoch builds and character guides
|
|
 Pros Pros |
| The strongest offensive Setup in the Game currently. |
| Simple and straightforward Gearing process with no mandatory Unique Items. |
| Easily customizable Gear and Skill choices to suit your playstyle. |
| The additional Tendrils from Static Orb provide decent Clear Speed without additional investments. |
 Cons Cons |
| Impossible to sustain Mana without Channeling Focus. |
| Low Damage Reduction and slow Ward Recovery during combat. |
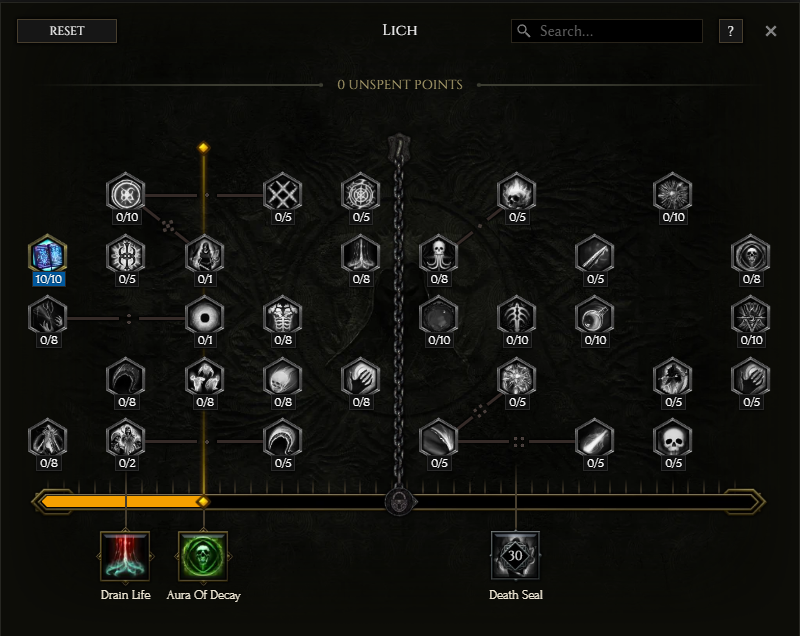
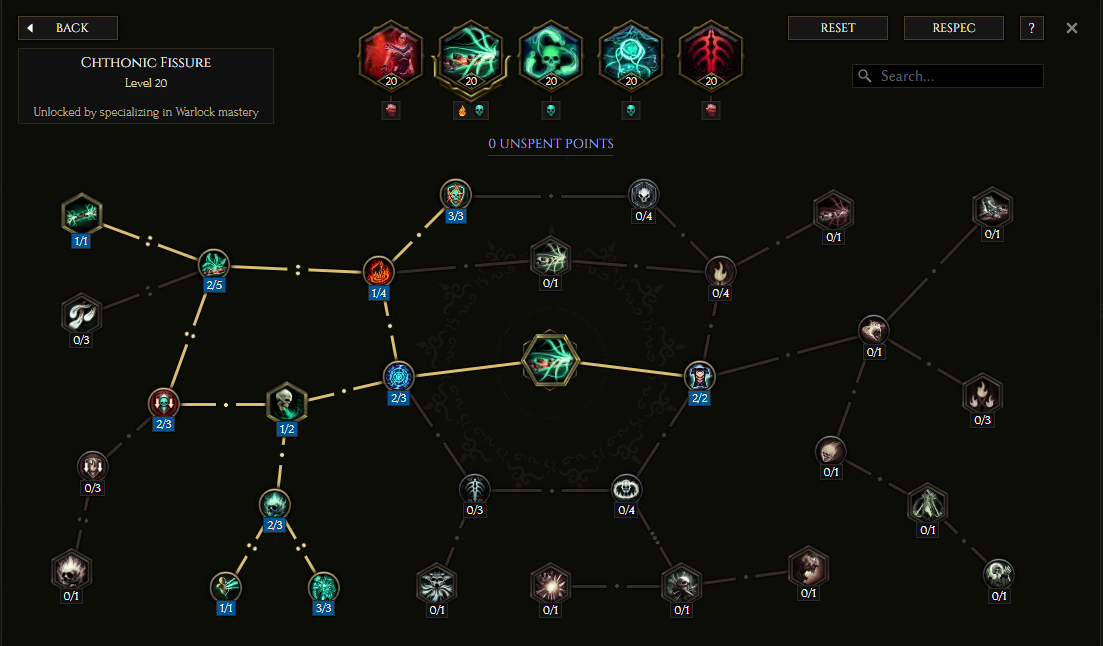
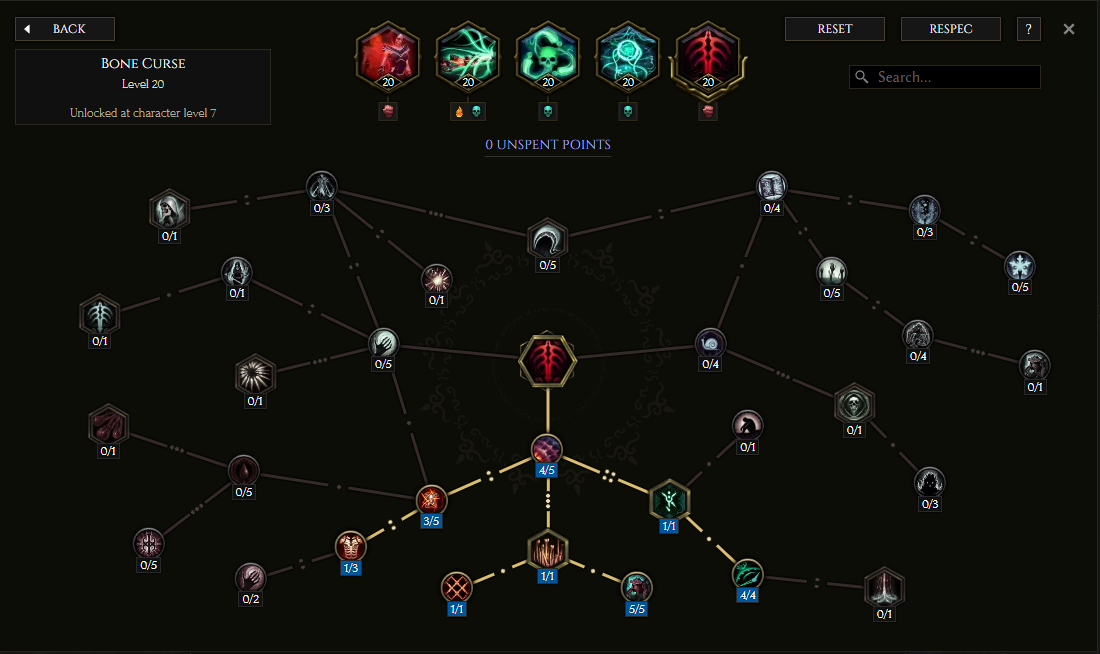
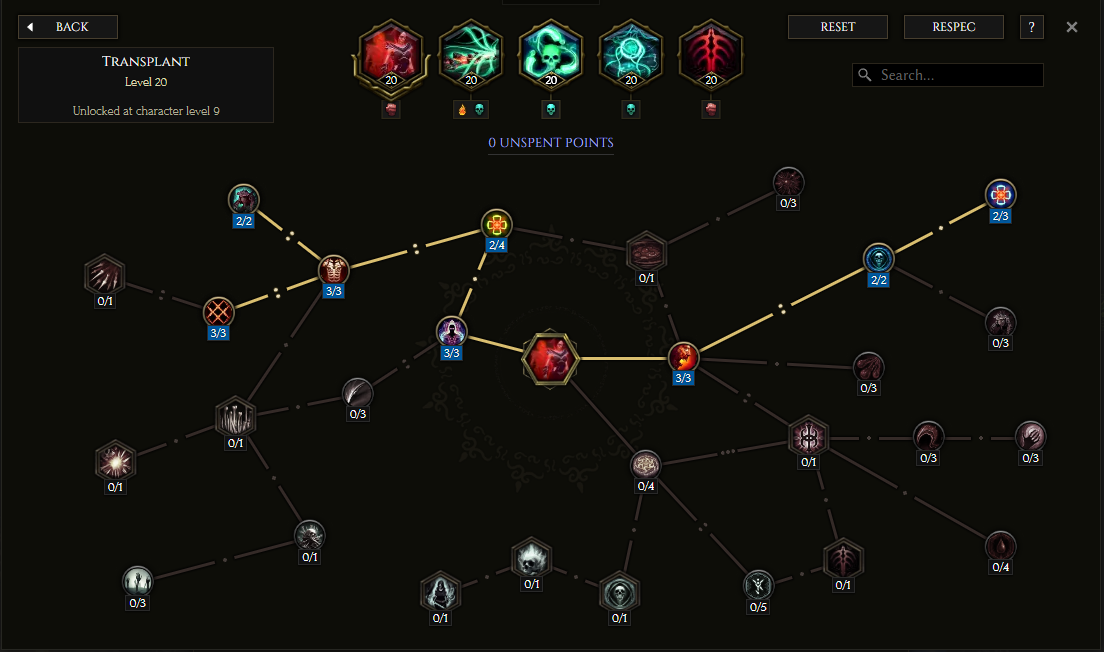
Passive Skill Trees
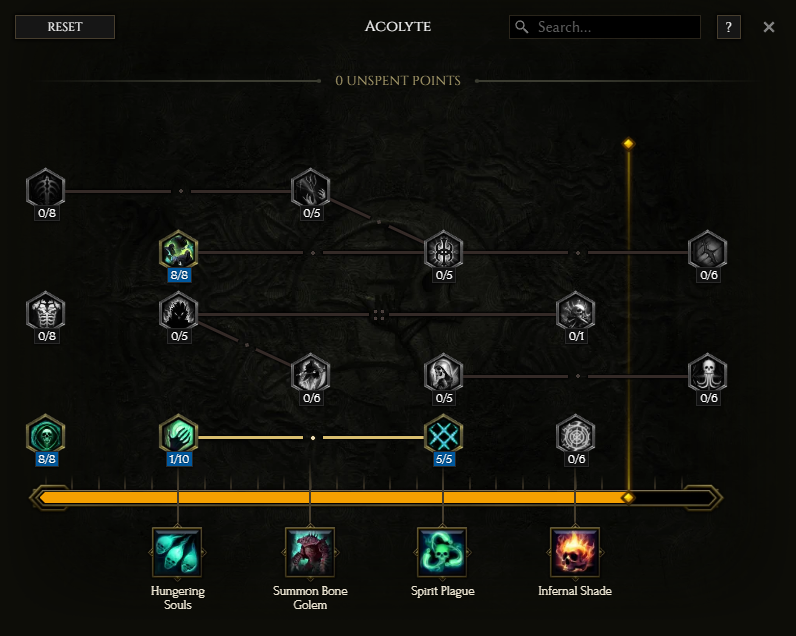 Mage Skill Tree (25 Points) |
|
Notable Passives: The Mage Passives offer simple bonuses such as Intelligence, Critical Strike Chance and Multiplier, or Cast Speed. |
|
|
|
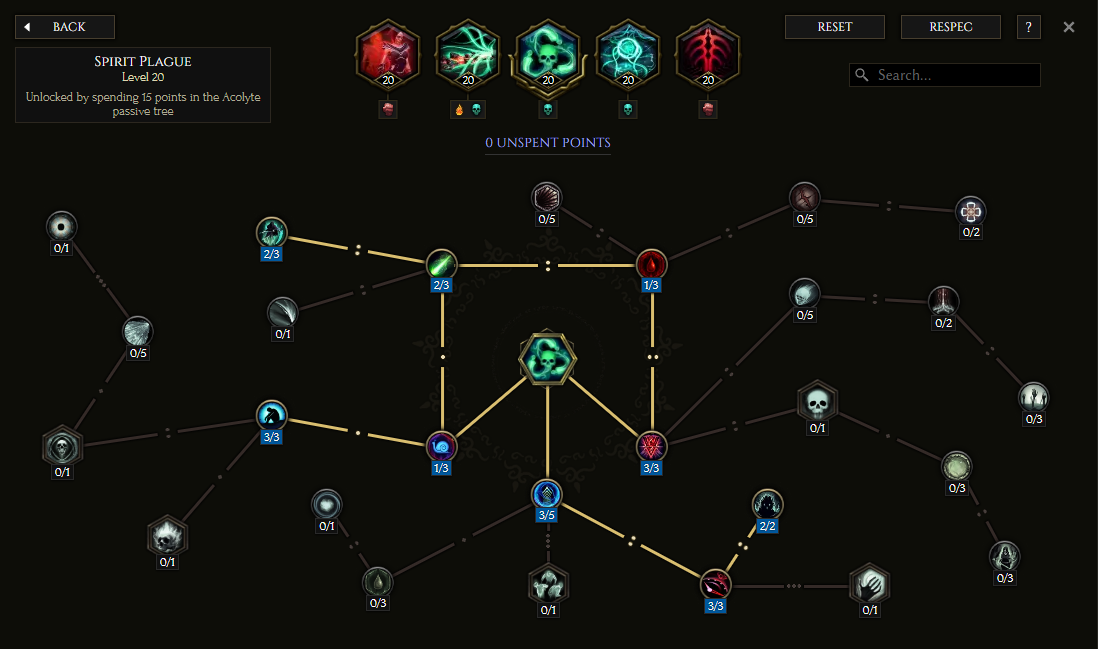
Notable Passives: The Sorcerer Skill Tree offers many useful Notables that boost your Damage and Mana. It also generates plenty of Ward based on your Mana. |
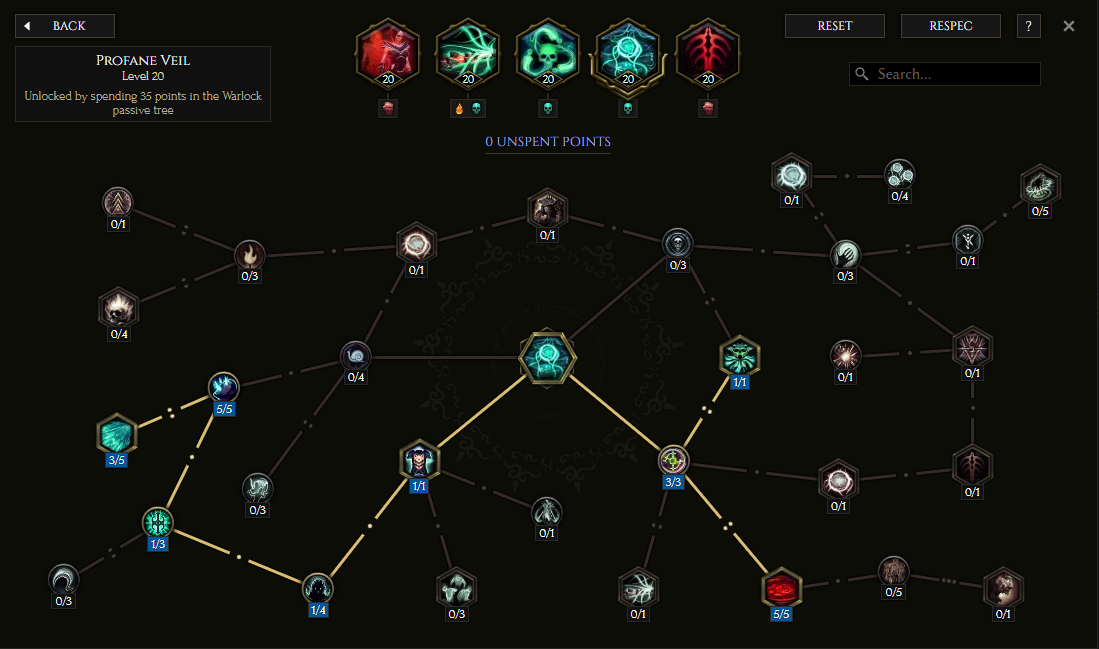
 Runemaster Skill Tree (27 Points) |
|
Notable Passives: The Runemaster Passive Tree grants you very potent bonuses while you wield a specific combination of Weapons, and improves your Cast Speed. |
|
You will gain a lot of Intelligence, Resistance, and Damage just by leveling up and allocating points to your Skill Tree. You should make some adjustments to the Passive Tree as you level up, as the respec cost is very low, and many Notables lose their value as you progress further into the endgame. |
Skills
Note: Left-Clicking on any of the ability trees below will open the full-size version in a new window.
|
Static Orb - your main Damaging ability, it releases an electric Orb that explodes shortly after to deal a massive amount of Damage based on your maximum Mana. |
 |
|
Glacier - the filler Spell that deals a decent amount of Damage and restores more Mana than it uses. You can use any other Spell to your liking but usually the Glacier is the most convenient. |
 |
|
Teleport - a defensive Skill that allows you to move around faster, avoid taking Damage, and Cast one Spell for Free after teleporting. |
 |
|
Focus - a necessary Skill to recover large amounts of Mana in a short time. Using it while at negative Mana restores almost half of it immediately. |
 |
|
Flame Ward - an iconic Mage's defensive Skill, it creates a protective Bubble that grants Ward and reduces the Damage you take during its duration. If you prefer more Damage you can replace this Skill with the Arcane Ascendance. |
 |


Items
|
Stat priority: The most important are sources of added Damage for Spells, maximum Mana, and capped Critical Strike Chance. Mana Regeneration smoothens up your gameplay, but it can't keep up with spending 20% of maximum Mana per Cast. The Intelligence increases your Damage and Ward Retention. Cooldown Recovery Rate indirectly improves your Clear Speed and Damage in prolonged fights, as it allows you to use Teleport and Focus more often. Only the Crystal Skull is a suitable base for your Catalyst, ideally with the maximum roll on the base Critical Strike Chance for Spells.
|
||||||||||||||||
|
Recommended Unique Items:
Marina's Lost Soul - any type of Damage will work with the massive Damage Multipliers of the Static Orb. This Wand is a good option if you can land 2 good Legendary bonuses, otherwise, use a Rare Crystal Wand. The Wrongwarp is also a decent choice, but be mindful of randomized Teleport locations when fighting Bosses.
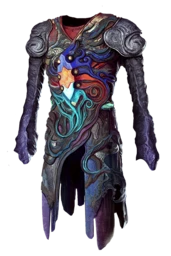
Unstable Core - this Armour offers a lot of maximum Mana, increases your Elemental Damage, and raises the level of Static Orb and Flame Ward. Try to get an additional Critical Strike Chance for Spells that doubles if you have more than 300 Maximum Mana via Legendary Potential.
Transient Rest - every time you stop to Cast a Spell you will gain a lot of Ward based on your Current Mana. It won't be effective after you burn all your Mana on burst. Try to get additional Movement Speed, as manually evading Hits is your biggest defense.
Julra's Stardial - you will begin your burst with the Teleport for the first free cast of the Static Orb, and this Ring will greatly boost your Damage and Ward Generation for the 4 seconds while doing so. Try to get Intelligence or Critical Strike Chance as your Legendary Potential modifiers here.
Strands of Souls - this Belt is undoubtedly the best choice if you want a lot of Ward. Good rolls on its modifiers are usually more important than getting Legendary Potential, especially as Belts don't have any exceptionally useful modifiers for you.
Grimoire of Necrotic Elixirs - you will gain a lot of flat Damage for your Spells after you use a Potion, which is usually not very useful as you rely on Ward instead of Health. It also reduces the Damage you take from particular Elements, which can be very useful against Harbingers or Nemesis monsters. However, using the potion every 4 seconds can be very easy to miss during combat.
Stormcarved Testament - offers a bit of flat Damage and Lightning Penetration for your Spells, as well as large amounts of Mana. The Shock Chance is also useful, as Static Orb deals More Damage to Shocked Enemies. You should aim to add the Critical Strike or Mana modifiers here.
Peak of the Mountain - it greatly improves your Critical Strike Chance, which is very important to cap for reliable bursts. Try to get additional levels for the Static Orb, as it allows you to pick up Notables that grant More Damage against Shocked Enemies or Critical Strike Multiplier. |
||||||||||||||||
|
Idols: You should use 4 Grand or Ornate Glass Idols that increase your Mana. They can also improve your Clear Speed via extra AoE or Tendrils for the Static Orb. The remaining Idols should be used to cap your Resistance or improve your Health, Ward Retention, and Mana. |
||||||||||||||||
|
Recommended Blessings:
|


|
END NOTE This is the release version of our Manastacking Sorcerer Build for Last Epoch, which uses Mana to obtain immeasurable amounts of Damage. We had amazing results with the final form of this Build, and we can attest you won't be disappointed with it. If you enjoy bursting Bosses in seconds and don't mind the occasional stops to regain Mana, the Build is definitely for you! Future Patches can change the performance of this Build, we will keep our eyes on it and update this guide accordingly to the game's growth. |
Pictures used in this article are the intellectual property of Eleventh Hour Games